AutoSave Screenshots to OneDrive on Windows 10
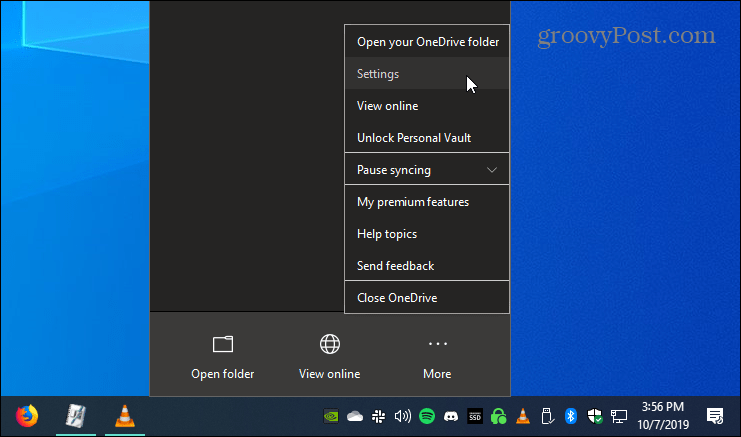
To set up your screenshots to automatically save to OneDrive, right-click the OneDrive icon on the taskbar and select Settings.
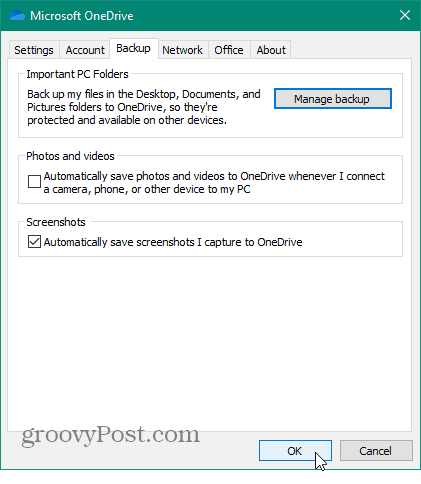
Then select the Backup tab and under the “Screenshots” section, check the “Automatically save screenshots I capture to OneDrive” box and click OK.
Saving Screenshots to OneDrive
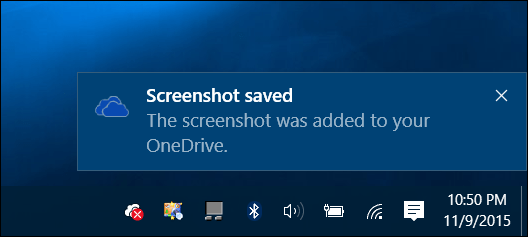
There are many different ways to take screenshots in Windows natively without having a third-party program using the correct keyboard shortcut. Just to hit the Print Screen (PrtScn) key to take a full shot of the desktop. Or, if you want to take a shot of the current windows you’re in, use Alt+PrtScn. Note that both of these commands work for all versions of Windows and aren’t exclusive to Windows 10. Once you take a screenshot, you’ll get a notification that the shot was added to your OneDrive folder.
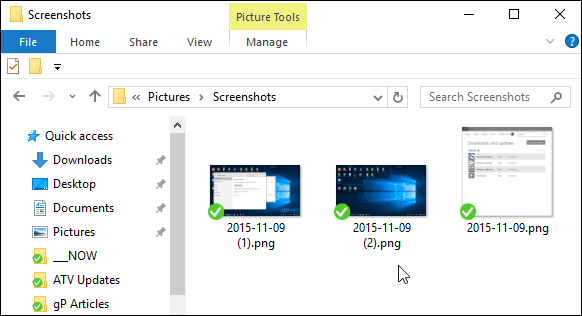
When you want to access your screenshots from OneDrive, you’ll find them in the Pictures > Screenshots folder and labeled with the date they were taken. If you want access to that folder from your local OneDrive folder, read: How to Select Which OneDrive Folders Sync in Windows 10.
Comment Name * Email *
Δ Save my name and email and send me emails as new comments are made to this post.


![]()
