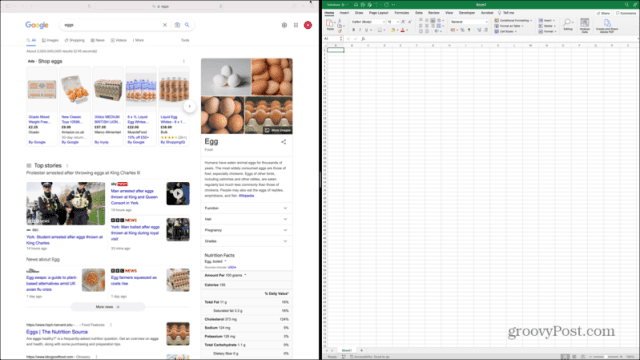
Thankfully, there’s a simple way to put two windows into full-screen mode and have them appear side-by-side on your computer. This can make you even more productive as you won’t have to keep swapping back and forth between different windows. If you’re ready to take advantage of this highly useful feature, then here’s how to do split screen on Mac.
How to Use Split Screen on Mac in macOS Catalina or Later
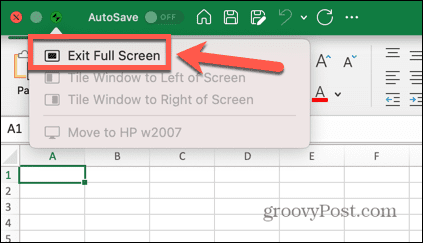
Split screen has been around since macOS Catalina, but the method of setting it up changed slightly in macOS Catalina and has remained the same since. If you’re using an earlier version of macOS, you’ll need to follow the steps in the next section. To do split screen in macOS Catalina or later:
How to Use Split Screen on Mac in macOS Mojave or Earlier
The method for putting windows into split screen is slightly different on older versions of macOS. If you’re still running macOS Yosemite or earlier, you won’t be able to use split screen on your Mac at all. To do split screen in macOS Mojave or earlier:
How to Use Split Screen on Mac Using Mission Control
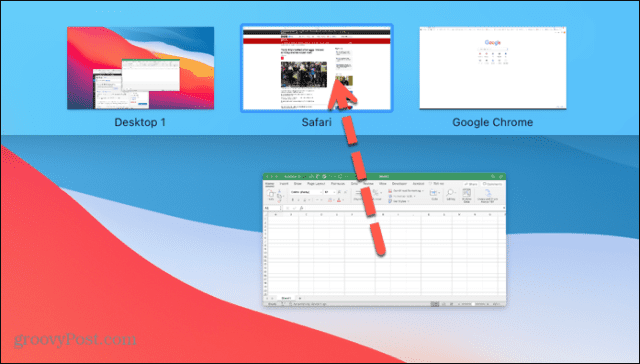
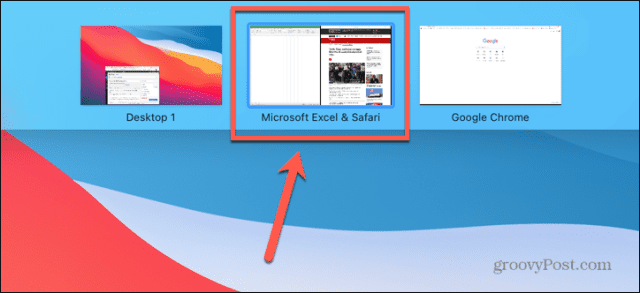
You can also use Mission Control on Mac to put two windows into split screen. The methods for opening Mission Control are a little different depending on what type of computer you’re using. To do split screen on Mac using Mission Control:
How to Work in Split Screen on a Mac
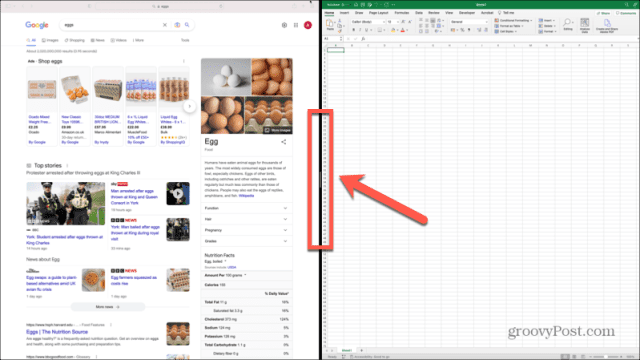
Once you’re in split screen mode, you can work in both windows. There are a few important things to know when working in split screen mode.
Learn More Mac Tips and Tricks
Learning how to use split screen on Mac is a great way to be more productive when using your Mac. There are plenty of other useful Mac tips and tricks that it’s worth knowing. For example, it’s simple to take a screenshot or even a full screen recording on Mac. Once you’ve got a screenshot, you can then crop your screenshot down to size. Another great productivity tip is to use Apple Focus on Mac to reduce distractions when you’re working. Comment Name * Email *
Δ Save my name and email and send me emails as new comments are made to this post.
![]()


