How to Install Fonts in Windows 10
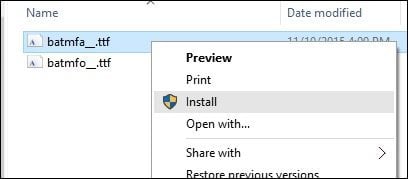
Once you have your font downloaded (often .ttf files) and available, right-click it and click Install. That’s it! I know, uneventful.
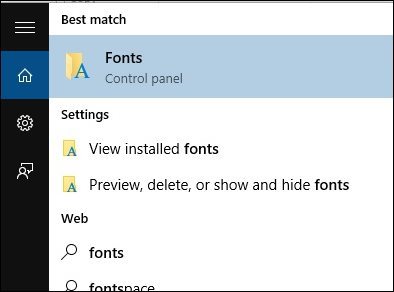
To check if the font is installed, press Windows key+Q then type: fonts then hit Enter on your keyboard.
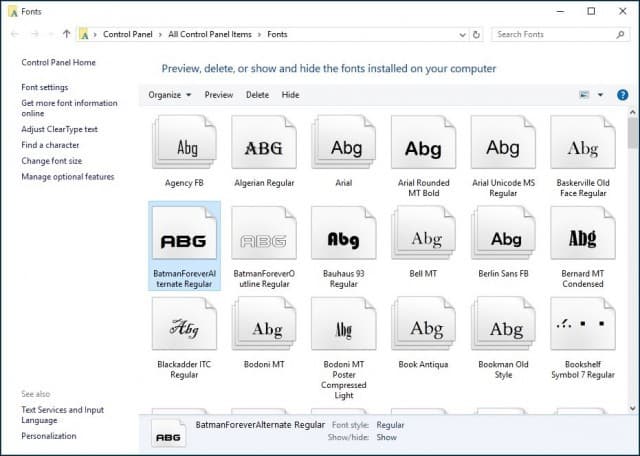
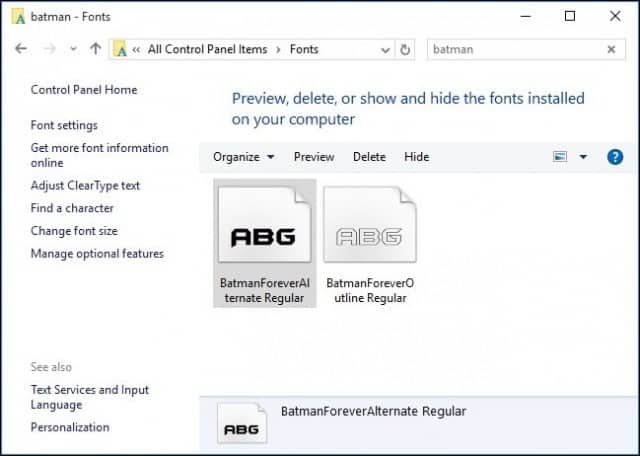
You should see your fonts listed in the Font Control Panel.
If you don’t see it and have a ton of them installed, type in its name in the search box to find it.
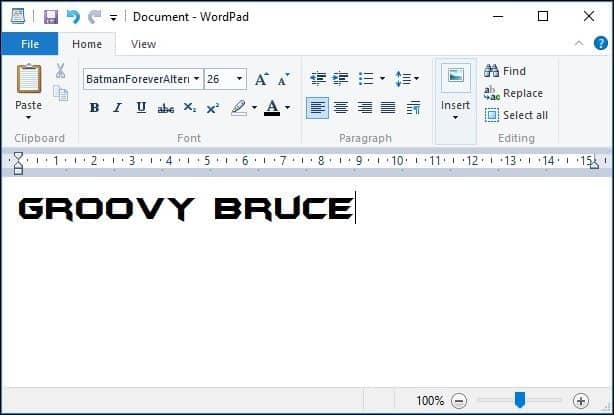
That’s all there is to it. Now you can create stylish and unique documents with some of your favorite fonts not included in Windows 10 by default.
If you’re not on Windows 10 yet, check out our article on how to install fonts on Windows 8.1. If you’re a graphics design enthusiast, before downloading a font, be sure to check out our article about the best and worst fonts for homemade designs. Waiting for you feedback! thanks. I’m unsure what to do next of if .otf files are even compatible with Windows 10 1: right-click the font 2: select “open with” >windows font viewer 3: when it opens, click “install” Comment Name * Email *
Δ Save my name and email and send me emails as new comments are made to this post.


![]()
