With an Outlook business card signature (aka a vCard or .vcf file), your contact information is delivered along with your email in a tidy package that populates address book contacts more precisely and more completely. Plus, they give a professional look and feel to your business emails and win your points with any Outlook junkies that you’ll be corresponding with. In this groovy How-to, I’ll show you how to create professional-looking business card signatures in Outlook 2010 in just a few minutes.
Create a Contact For Yourself
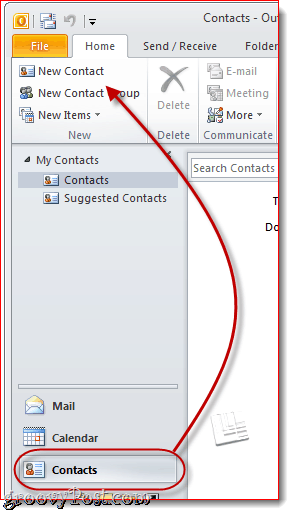
Business cards in Outlook 2010 begin as contacts. So, your first step is to create a contact for yourself if you haven’t done so already.
Step 1
Launch Outlook and Click Contacts > New Contact
Step 2
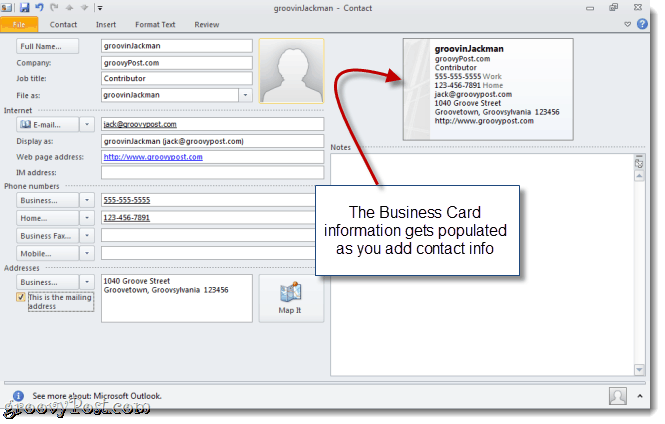
Fill out your contact information. As you do so, you’ll notice that the information is automatically mapped onto your business card on the right-hand side.
Don’t worry too much about what’s included and how it looks for now—we’ll change this later. Just add everything that you might want to include in your business card.
Editing the Contact Information on Your Outlook 2010 Business Card
At this point, you’ve got a fully functional business card, albeit a generic one. You can personalize it further by editing the information that shows up on the card and adding formatting and logos.
Step 1
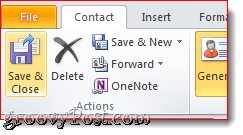
With your contact still open, Click Business Card in the Contact Ribbon. You can also Right-click your business card and choose Edit Business Card.
Step 2
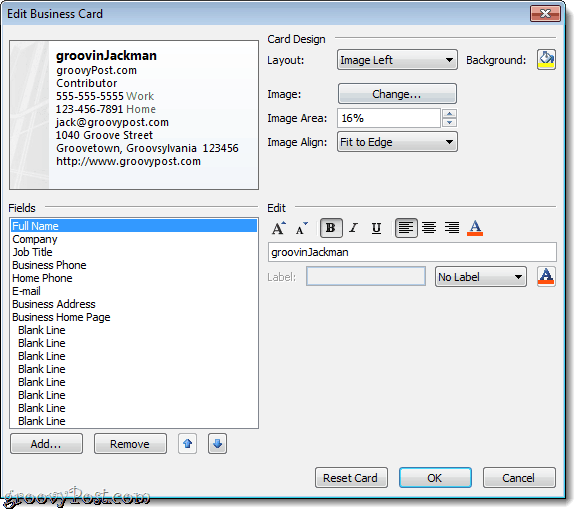
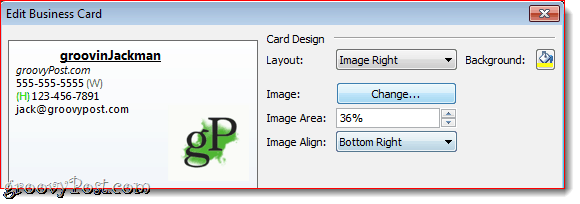
This opens the Edit Business Card window. Here, you can alter the Card Design, add/remove and re-order the fields, and format each line on your business card. In the top-left is a preview of your Outlook 2010 business card as it’ll appear in your signature.
Step 3
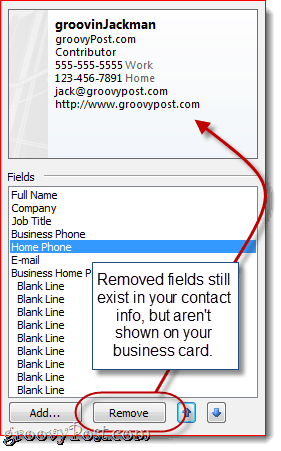
Begin by choosing the fields you’d like to include in your business card. You can re-order a field by selecting the field in the bottom-left and Clicking the Up or Down arrows. Similarly, you can remove a field by selecting it and clicking Remove.
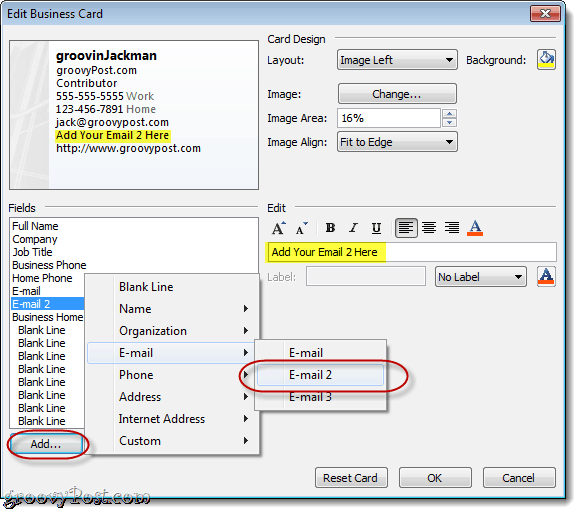
I’ve decided to remove my Home Phone and Business Address. Note: This does not remove the underlying information from your contact; it simply excludes it from your business card so that recipients won’t see it. Click Add to add a field. If the field you add has been filled out in your contact information, it’ll automatically be populated. If not, you can fill in the pertinent detail after you add them.
Customize the Format and Design of Your Outlook 2010 Business Card
After you’re satisfied with the information that appears on your business card, you can change the look and feel of each field, as well as the overall design of your business card.
Step 1
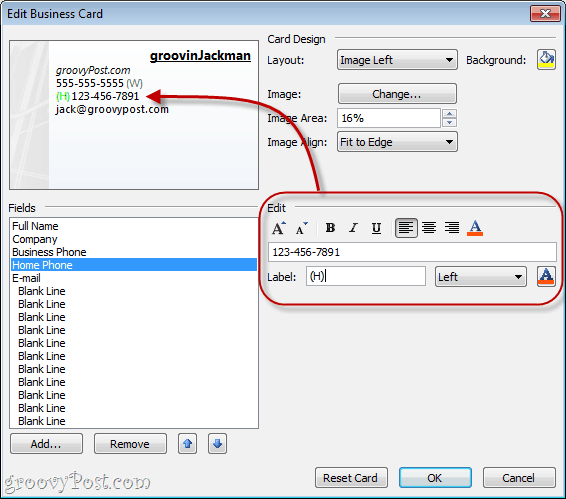
Please select a field to edit it. In the Edit panel on the right, you can change the field’s value (regardless of what’s in your contact information), change the text style, text color, and text alignment, and add a label (optional).
The label appears to the left or right of the field. To remove an existing label, clear the Label field or choose No Label from the drop-down menu. Tip: You can also select fields by Clicking them in the preview.
Step 2
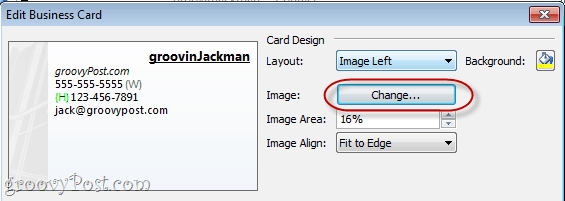
Choose a logo or background for your business card by Clicking Change… next to Image in the Card Design panel. Browse to the image you’d like to use.
Position your image using the Layout drop-down and the Image Align drop-down menus. If you choose a Layout other than a background image, you can change the size of the image by altering the percentage in the Image Area.
You can also add a background color for the entire business card by Clicking the Paint Bucket next to Background.
Step 3
Click OK when you’re satisfied, and then click Save & Close.
Attaching Business Cards as Signatures in Outlook 2010
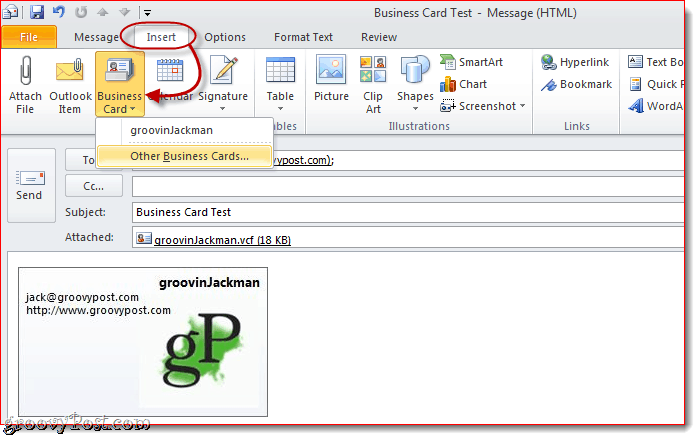
You can insert a business card in a new message by clicking the Insert tab and choosing a Business Card. The first time you insert your business card, you’ll have to select it from the Other Business Cards dialog, but afterward, it’ll show up in the drop-down menu.
You can skip this step by including your business card in your signature. Here’s how:
Step 1
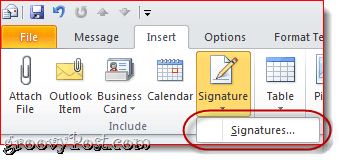
In the New Message window, click Insert > Signatures and click Signatures.
Step 2
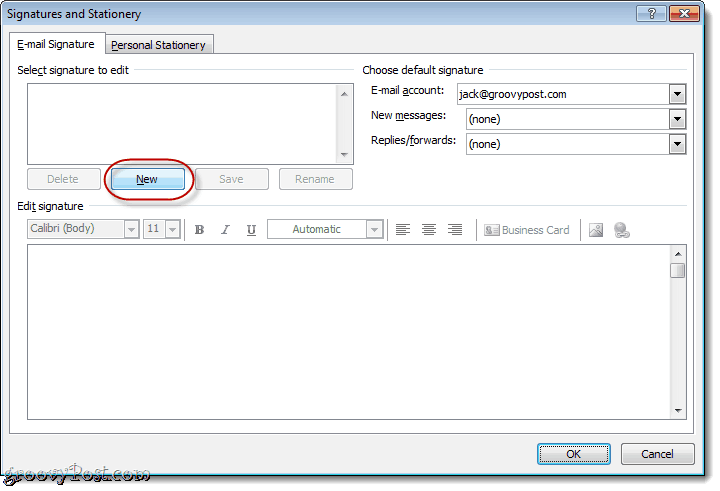
In the Signatures and Stationery window, click New. Type a name for the signature and click OK.
Step 3
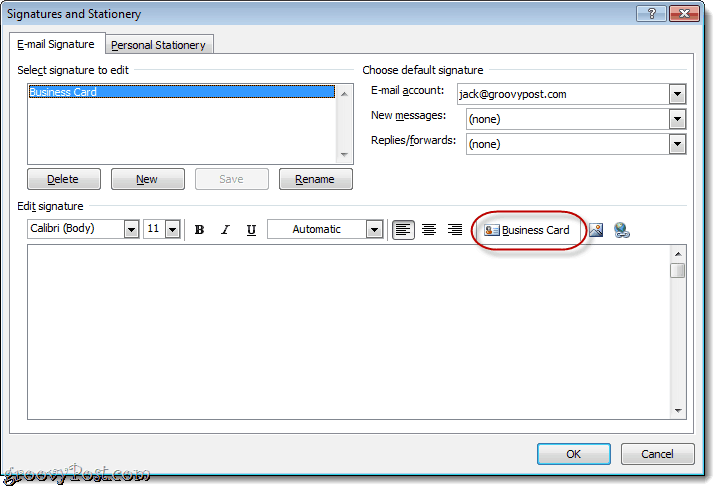
Select your newly created signature and click Business Card.
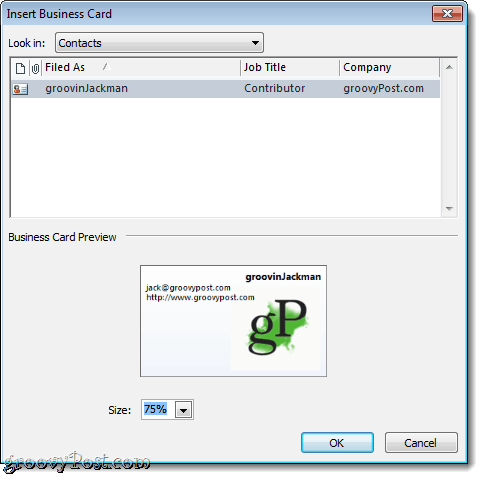
Select the Business Card you’d like to include and click OK. If you’d like, you can resize the business card for the signature by choosing a percentage in the Size drop-down menu.
Step 4
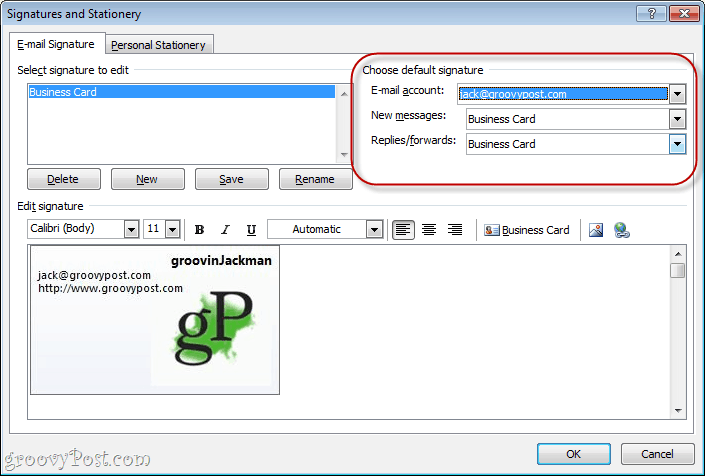
Assign the signature as a default signature to an email account using the drop-down menu in the top-right.
I recommend it as the default for new messages, but not replies/forwards, since people you’ll replying or forwarding to will already have your business card. Click OK when you’re done.
Step 5
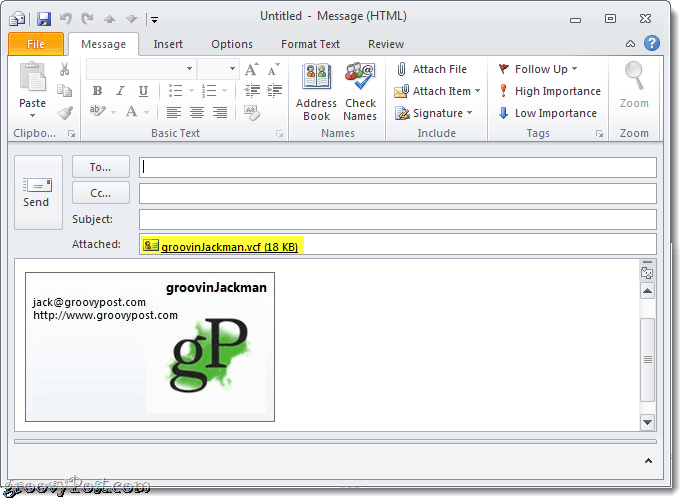
Click New Message, and your business card will already be inserted as a signature and attached as a .vcf file.
Saving Contact Information from a Business Card
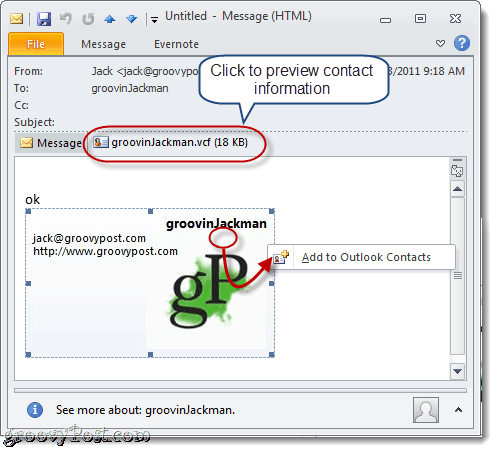
When recipients receive a business card, their email client will handle it accordingly. Outlook users can click the attachment to preview how the contact information will look in their address book. Then, they can Right-click your business card and choose to Add to Outlook Contacts to save the contact info to their address books.
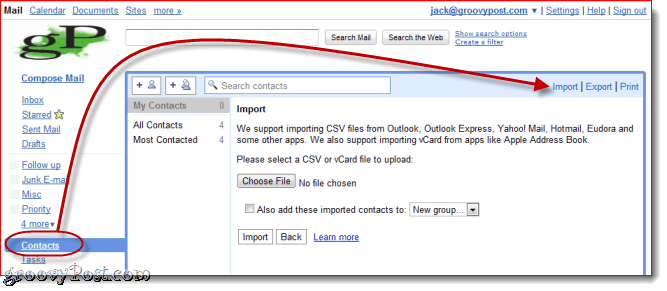
Importing vCards (.vcf files) into Gmail is a bit clunkier. You’ll have to download the attached .vcf to your hard drive and then import it. Do so by Clicking Contacts and then Clicking Import and Click Choose File to browse to the saved .vcf file.
That about wraps it up for Outlook 2010 business card signatures. Check out some of these groovy email business card templates from Microsoft. Save them to your hard drive and then double-click them to open them in Outlook. Change the contact information and save it as a new business card, and you’re good to go. Thanks in advance, Evgeny The attachment IS the business card: they are the same thing. In my experience, you have to live with the .vcf attachment if you want to use an Outlook business card format as your signature. -Elaine I assume that by adding it as an image you loose the functionality of a bussiness card though (right mouse to update the contactdata for the recipient of your mail). Hope anyway that this gives you an extra option. Any ideas would be appreciated. I’m having a hard time locating the fix. Thanks! Sue Comment Name * Email *
Δ Save my name and email and send me emails as new comments are made to this post.


![]()
